How to Dish Your Electric Dirt Bike Wheel for Better Tire Clearance
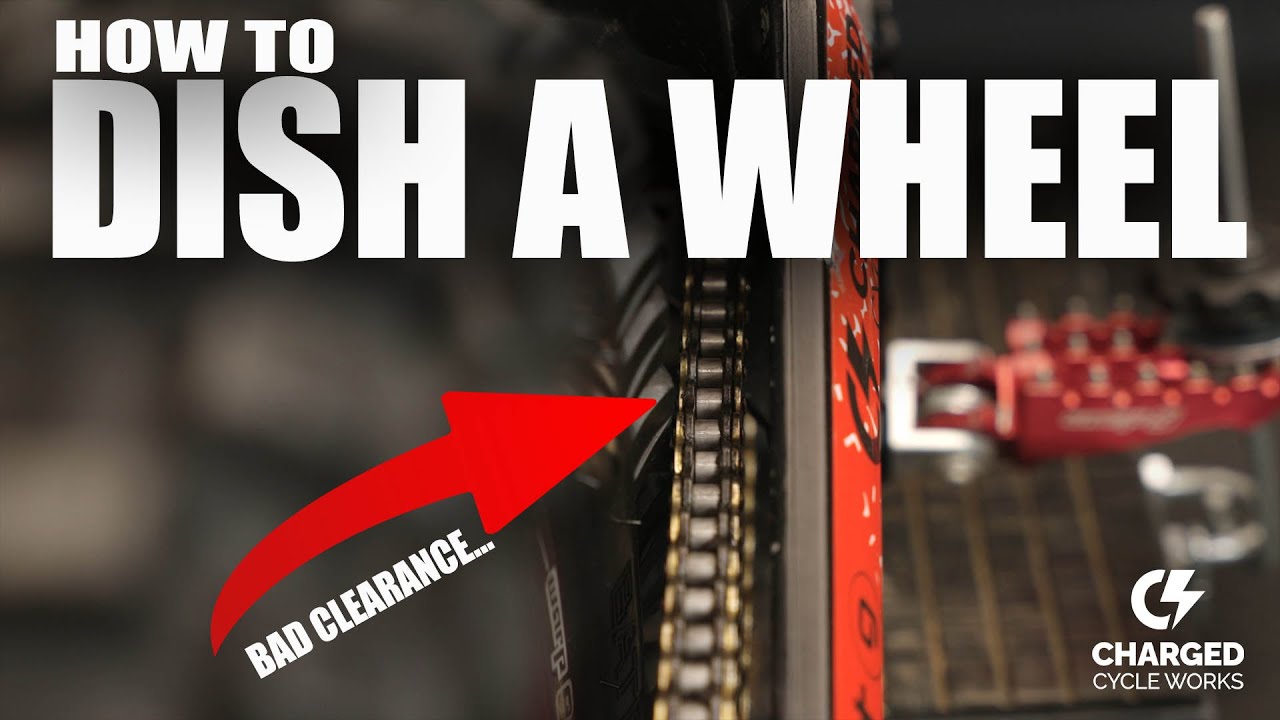
Upgrading to a beefier 16/19 or 18/21 wheel set on a Surron, Talaria, or E Ride Pro is one of the best mods you can do. The downside? That wider rubber often ends up uncomfortably close to your chain.
Dishing is the process of shifting the rim over just a few millimeters to find that perfect "goldilocks" zone of clearance. Here is how to do it without ruining your wheel's alignment.
Tools You’ll Need
-
Spoke Wrench: While any wrench that fits your nipples works, a dedicated Torque Spoke Wrench (like the Warp 9 version) is highly recommended for the final stages to ensure even tension. Click here to shop for spoke wrenches.
-
The Right Fit: Ensure you have the correct head size for your specific hub/spoke combo before starting to avoid stripping the nipples.
- Wheel Stand: If you plan to do this a lot you should definitely pick up a wheel truing stand to make the process more precise with less introduction of wheel wobble.
The Step-by-Step Dishing Process
The goal is a simple "push-pull" mechanic: loosen one side to allow the other side to pull the rim over.
-
Start at the Valve Stem: This is your "home base" so you don't lose track of where you started.
-
Loosen the Drive Side (Right): Work your way around the wheel, loosening every spoke that pulls toward the sprocket side by 3/4 of a turn.
-
Tighten the Non-Drive Side (Left): Move to the spokes facing the opposite direction. Tighten these by the same 3/4 of a turn. This "pulls" the rim away from the chain.
-
The "Slow and Steady" Rule: If you need more clearance, repeat the process in small increments. Rushing or turning too much at once can lead to a "wobbly" wheel (out of true).
-
Verify Clearance: Rotate the wheel. You’re looking for at least 2-3mm of daylight between the tire knobs and the chain.
Finalizing: Torque and Tension
Once the rim is positioned correctly, you must ensure the wheel is structurally sound.
-
Target Torque: For Warp 9 wheels, aim for 35 in-lbs.
-
The "Skip Three" Technique: To keep the rim true while tightening, start at the valve stem, tighten one spoke, skip three, and tighten the fourth. Repeat this pattern until you’ve circled the wheel and every spoke clicks at the correct torque.
Final Pro-Tip
If you find yourself having to dish the wheel more than 5-6mm, you might want to look into a non-O-ring chain or a spacer, but for 90% of tire upgrades, this simple dish adjustment is the cleanest solution!