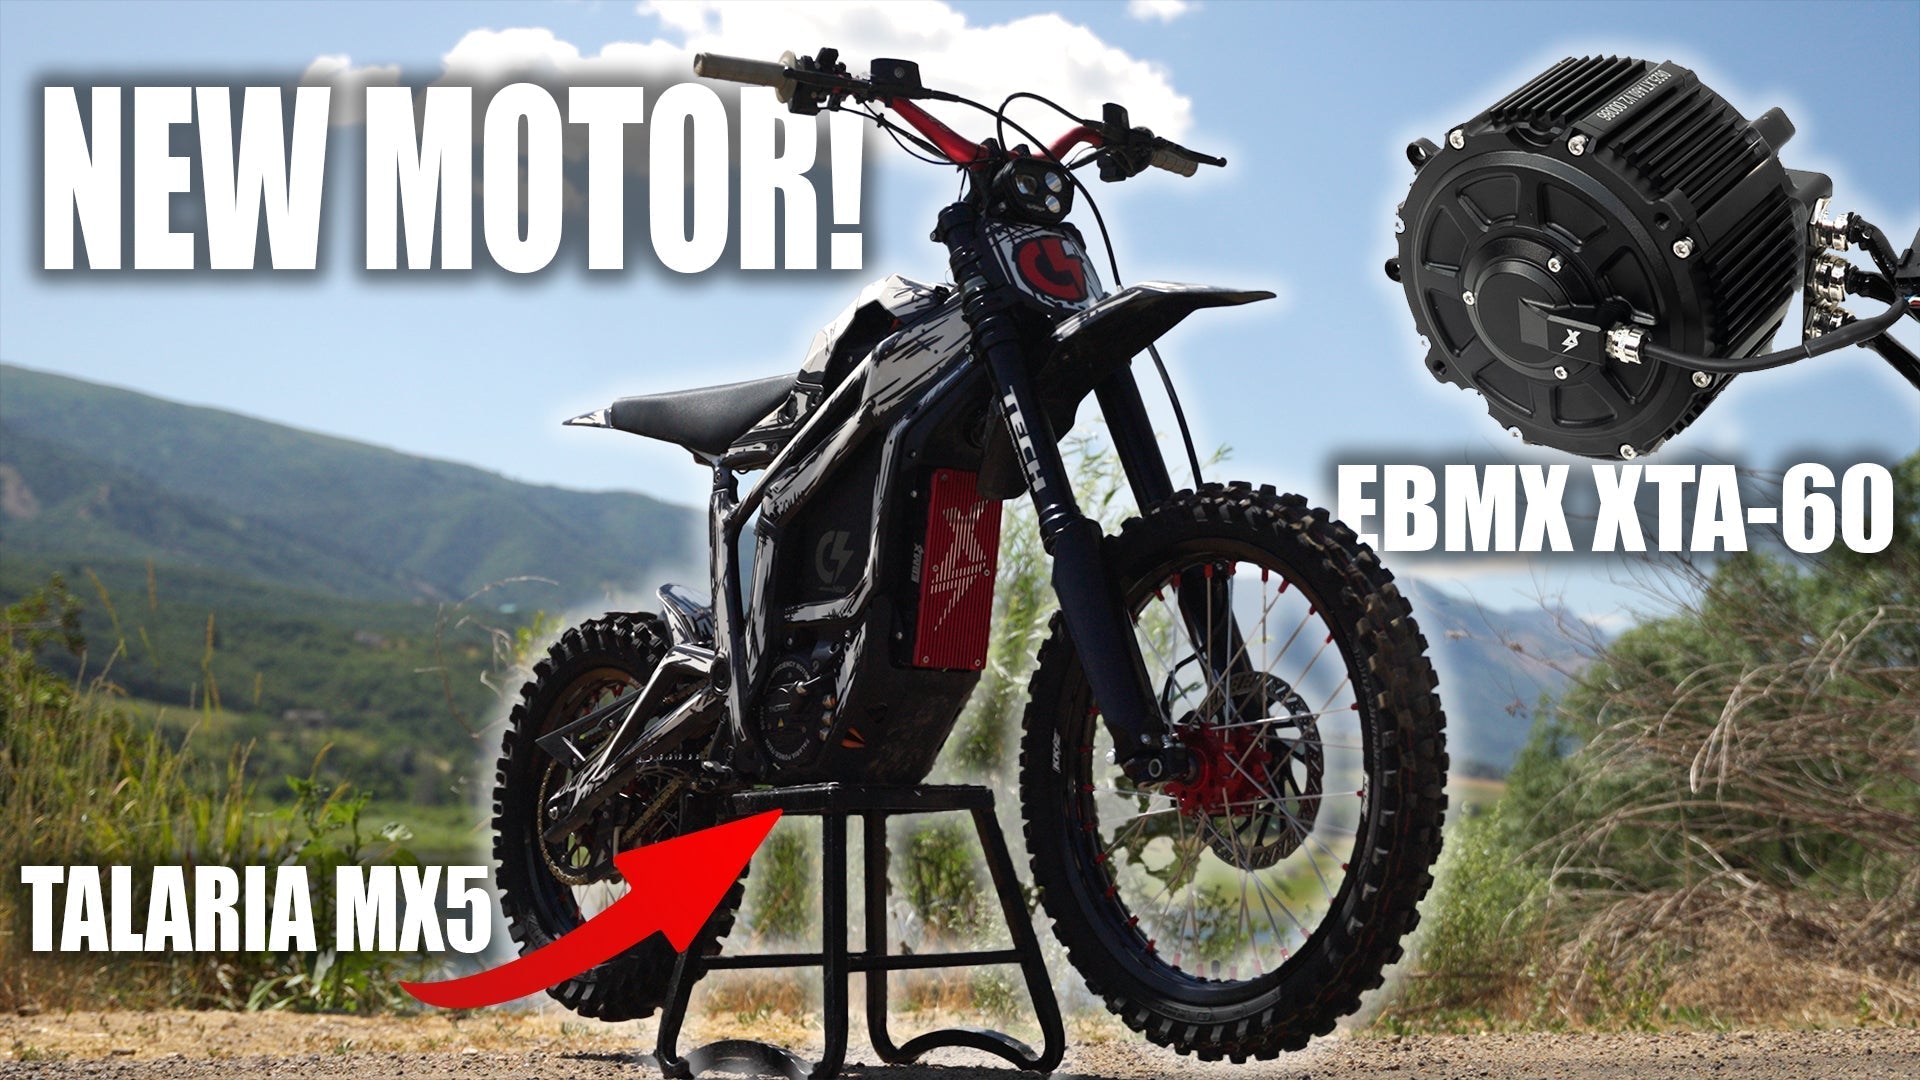
The EBMX XTA-60 is here for the Talaria Electric Dirt Bike lineup! This motor has some incredible features that are going to transform how your Talaria rides and feels.
EBMX XTA-60 Specs:
- Stator: 55mm
- Power: 40kW Peak under load testing at 90V and 1000 phase amp
- Real-World Results: 35kW on a 72V battery with 16 inch rear wheel and 42T sprocket
- Max Rated RPM: 12,000 Rated RPM
-
Recommended Off Road Gearing:
- 18" - 48t sprocket
- 16" - 42t sprocket
- Warranty: 2 Years
Purchase Here: EBMX XTA-60
For Talaria MX5 an additional installation kit is required: Installation kit
Video Guides:
Full Talaria MX5 Installation Video Guide:
Full Talaria MX3 / MX4 Installation Guide:
EBMX XTA-60 Motor Install on a Talaria MX5 (Step-by-Step)
Upgrading your Talaria MX5 with the EBMX XTA-60 motor is a serious performance jump—and it’s straightforward if you follow the steps below. This guide walks you through prep, removal, installation, wiring, and final app setup.
Safety first
Turn the key OFF, set the breaker to OFF (if equipped), and remove the battery before you start.
Use a correctly rated circuit breaker or fuse. Do not bypass your BMS or fuse/breaker; doing so risks damage, fire hazards, and voids warranties.
Do not use the OEM MX5 battery with the XTA-60. Use a high-performance aftermarket pack capable of ~400A battery current to prevent underperformance or damage.
Source: EBMX XTA-60 Motor Installation Guide (Talaria MX5) PDF.
What’s in the XTA-60 MX5 Kit
-
Battery tray
-
Gearbox vent plug (rubber cap)
-
(5) M8 shims
-
MX5 brace
-
(2) brace spacers
-
(2) M6 × 60 mm socket cap bolts
-
(4) M6 × 12 mm mushroom/button head bolts
-
DC converter spacer
-
(1) M6 flat washer
-
(1) M6 spring washer
-
(1) M5 × 10 mm countersunk bolt
Tools You’ll Need (not supplied)
Metric hex keys/T-handles, 15 mm open-end wrench, T40 Torx + ratchet, snap-ring pliers, thread locker (blue or red), waterproof grease.
Pre-Install Checklist
-
Key OFF, breaker OFF, battery removed.
-
Familiar with removing Talaria battery lid (MX5 lid fully unhinges off).
-
Confirm you have an aftermarket battery suited to XTA-60 requirements.
Part 1 — Strip-Down & Prep (Steps 1–12)
-
Open the bike: Turn key OFF, unlatch and remove battery lid, flip breaker OFF (if equipped).
-
Remove the battery (OEM pack shown in the manual is not sufficient for the new motor).
-
Hinge the skid plate down: Remove the two upper skid-plate bolts (save them).
-
Remove horn cover: Take out the three bolts (save them).
-
Unbolt the controller: Remove four controller mounting bolts/spacers (save them).
-
Support the controller (X-9000): Place it on a box/stand; remove phase bolts (Blue/Yellow/Green) and save the bolts.
-
Disconnect gearbox breather hose.
-
Remove the chain: Take off the master link and slide chain off the front sprocket.
-
Unplug the motor encoder connector.
-
Unplug the 4-pin DC-converter connector and slide it through the sleeve carefully.
-
Confirm controller remains supported—don’t strain the harness.
Part 2 — Remove OEM Motor/Gearbox & Battery Tray (Steps 13–19)
-
Remove the two motor-to-frame bolts (these will not be reused).
-
Loosen (do not remove yet) the rear gearbox pivot bolt/nut near the linkage (these will be reused).
-
Remove two front gearbox brace bolts/spacers (save them). If you run the OEM beauty cover, remove it.
-
Remove battery tray: Take out four tray bolts (not reused).
-
Transfer the plastic support insert from the OEM tray to the new tray using the four OEM screws.
-
Add the supplied 5th M5 countersunk bolt in the center for extra support.
-
-
Pull the motor/gearbox out: Support the assembly, then slide out the loosened rear pivot bolt and remove the unit.
-
Cap the gearbox vent with the supplied rubber plug to prevent oil loss.
Part 3 — Separate Sprocket & OEM Motor (Steps 20–26)
-
Remove the snap ring with snap-ring pliers, then slide off the sprocket (both are reused later).
-
Loosen/remove the six motor-to-gearbox bolts (not reused).
-
Remove the four T40 brace bolts.
-
They’re heavily thread-locked—apply heat if needed (keep heat away from bearings, bike, and battery).
-
These four brace bolts are reused.
-
-
Grease the gearbox spline shaft lightly with waterproof grease.
-
Unbolt the DC converter (two bolts, not reused).
-
Position the XTA-60 on the MX5 gearbox (loose fit for now).
Part 4 — Mount the XTA-60 to the Gearbox (Steps 27–33)
General install guidelines (critical):
-
Use spring + flat washer on every bolt.
-
Apply thread locker (blue = easier future removal; red = more permanent).
-
Bolts thread into aluminum—do not over-tighten. A hand hex key/T-handle gives better feel than a socket.
-
Loosely install four 20 mm bolts through the brackets as shown in the guide (orientation matters).
-
Loosely install one 16 mm bolt as oriented in the guide.
-
Mount the DC converter: Loosely install a 25 mm bolt with flat + spring washer on top and the large spacer underneath (supplied in the kit).
-
Fit the supplied gearbox brace and spacers:
-
Insert the two M6 × 60 mm bolts through spacers into the brace and start the nyloc nuts by hand.
-
Refit the four OEM T40 brace bolts through the new motor support brace (use thread locker).
-
-
Evenly tighten the six motor bolts into the aluminum case (thread locker on all).
-
Tighten the four brace bolts (thread locker; don’t over-torque).
-
Tighten the two 60 mm spacer bolts with a hex key + open-end wrench.
-
Reinstall sprocket + snap ring; verify the ring seats fully in the groove.
Part 5 — Reinstall Assembly in the Frame (Steps 34–40)
-
Lift the motor/gearbox into the frame and loosely install the OEM rear lower pivot bolt + nut.
-
Front motor mounts: Use the supplied M8 × 16 mm bolts with spring + flat washers to loosely secure the motor to the frame.
-
Upper mounts: Reuse the OEM motor mounting bolts + OEM spacers between frame and motor; add M8 shimsif there’s a gap.
-
Tip: Thread all bolts by hand first. If a bolt won’t start, adjust alignment—don’t force it.
-
Consider blue thread locker and check these fasteners regularly as part of maintenance.
-
-
Install the new battery support tray with the four M6 × 12 mm button heads (two per side).
-
Tighten all five motor mounting bolts (rear pivot + four frame bolts).
-
Remove the temporary vent cap from the gearbox and reconnect the breather hose.
Part 6 — Chain, Controller, and Wiring (Steps 41–45)
-
Reinstall the chain + master link; orient the clip with the rounded/closed end facing the chain’s travel so it won’t pop off in the guide.
-
Reconnect X-9000 phase leads using the original bolts: Blue→B, Green→G, Yellow→Y.
-
Tighten firmly; verify the lugs can’t move side-to-side. Use spring + flat washers on each. Blue Loctite recommended.
-
-
Bolt the controller back on with the four saved bolts/spacers.
-
Plug in the encoder and DC-converter connectors.
-
Tuck connectors back into the protective sleeve; route phase cables carefully—avoid sharp bends.
Part 7 — Plastics, Skid Plate & Final Checks (Steps 46–48)
-
Reinstall the horn cover with the three saved bolts.
-
Hinge the skid plate up; confirm wiring isn’t pinched, then reinstall the two upper skid-plate bolts.
-
Final fastener check: Verify every bolt you touched is snug (not over-tight).
-
Reinstall the battery.
X-9000 App Setup (V3) & Initial Settings
-
Install the “X-9000 X Series” app on your phone.
-
Power the bike ON, open the app, tap Connect, and select your X-9000.
-
Go to Settings → Firmware Download → Check for updates and apply any updates.
-
Throttle page: Turn thumb throttle OFF if you won’t use it.
-
Calibrate your twist throttle (Throttle page).
-
Battery page: Select the correct series and battery model to match your aftermarket pack.
-
Motor page: Choose EBMX XTA-60 as the motor type, then run motor calibration when prompted.
-
If you see an orange triangle in the app or on the SW102T display, tap it for error details and follow the troubleshooting prompt.
Battery notes: Do not run the OEM battery. If your BMS trips, first lower field weakening. If needed, also lower battery amps.
Fastener Re-Use Map (Quick Reference)
-
Reused:
-
Controller mount bolts + spacers
-
X-9000 phase bolts
-
Rear gearbox pivot bolt + nut
-
Four OEM T40 brace bolts
-
Sprocket + snap ring
-
Horn cover bolts
-
Upper skid-plate bolts
-
OEM motor mount bolts (used with OEM spacers and shims at the upper location)
-
-
Not reused:
-
Original two lower motor-to-frame bolts
-
Four OEM battery-tray bolts
-
Six OEM motor-to-gearbox bolts
-
Two OEM DC-converter bolts
-
Optional: Gear Ratio Reference
The manual includes a Talaria MX3/MX4/MX5 gear-ratio chart and notes the stock tire diameter ~620 mm and stock 48T rear = ~9.15 gear ratio (see the chart on the last page). Use this when selecting sprockets to tailor acceleration vs. top speed.
You’re done!
Double-check all wiring, fasteners, and cable routing. With the app configured and no errors showing, you’re ready to ride your upgraded Talaria MX5 with the EBMX XTA-60.